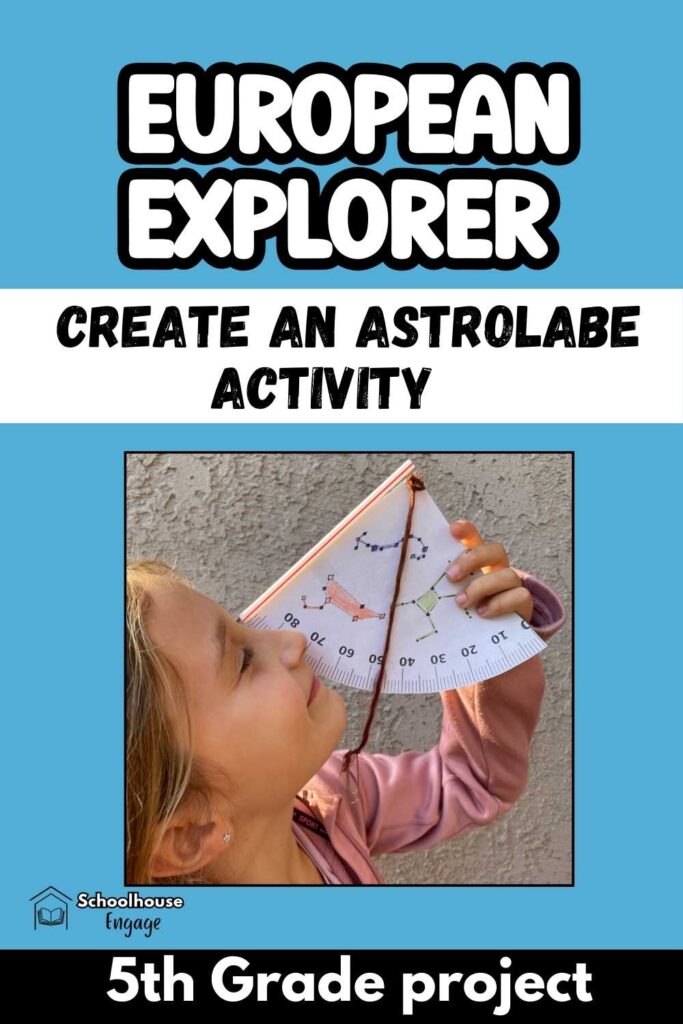
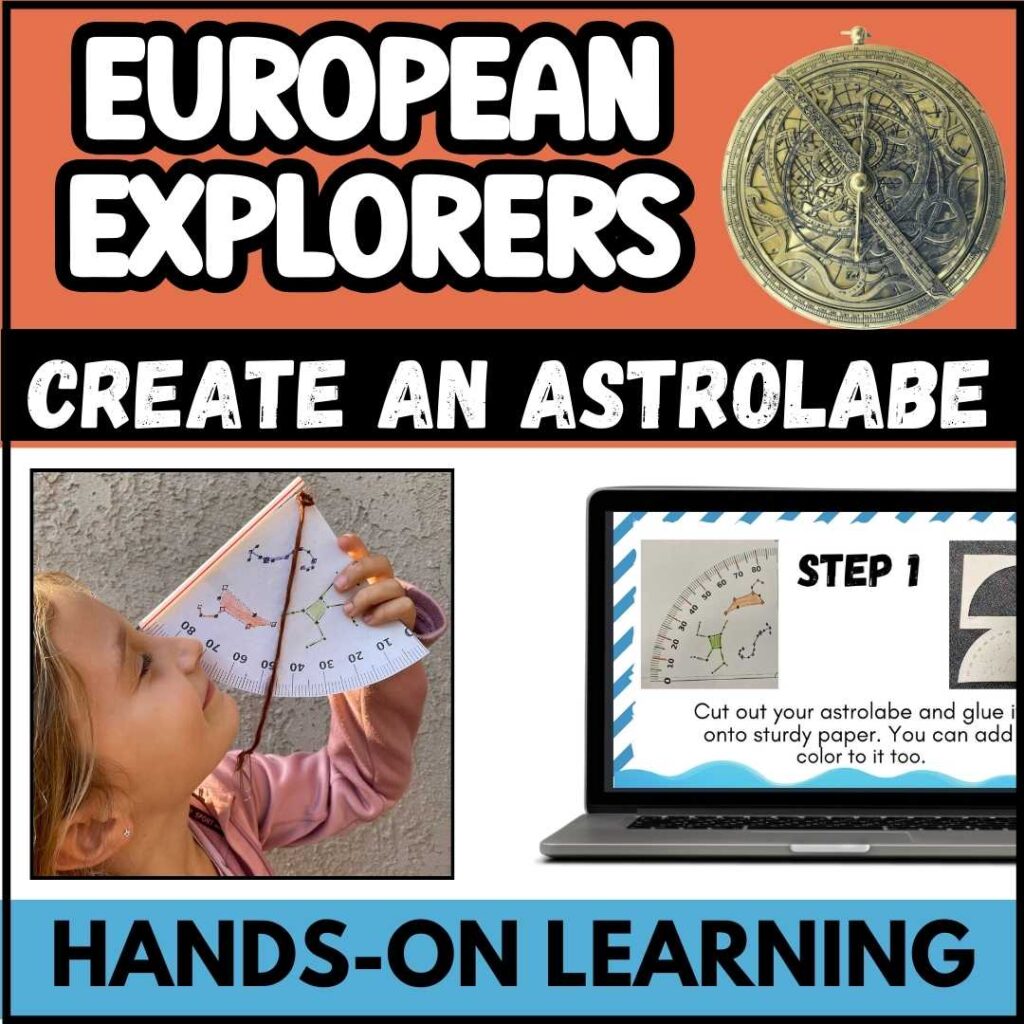
Why Make an Astrolabe in Your Classroom?
This Hands-on European Exploration astrolabe project will help your students learn about history in a fun, hands-on way. It also helps them understand navigational tools.
Your students (or children, for our homeschooling parents) need to do activities related to the subject they are learning. Making an astrolabe will engage your students and help them remember the lesson you teach about European Explorers. This lesson also incorporates STEM.
What is an astrolabe?
An astrolabe was an explorer’s GPS. An astrolabe was a navigational tool explorers used to measure the altitude of stars, and it was marked in degrees and had a pointer.
The astrolabe is considered to be one of the oldest of all altitude-measuring tools, dating back to the Roman Empire.
How did the astrolabe help European Explorers?
Explorers used it in navigation for calculating the latitude of a ship, or the north or south position. The mariner’s astrolabe measures the height of the sun or a star above the horizon.
Students need to know that European Explorers considered this instrument to be a technological advancement in sailing, and it made the Age of Exploration possible.
What better way for students to learn about this indispensable tool than to make one of their own?
Astrolabe Activity: Materials You’ll Need
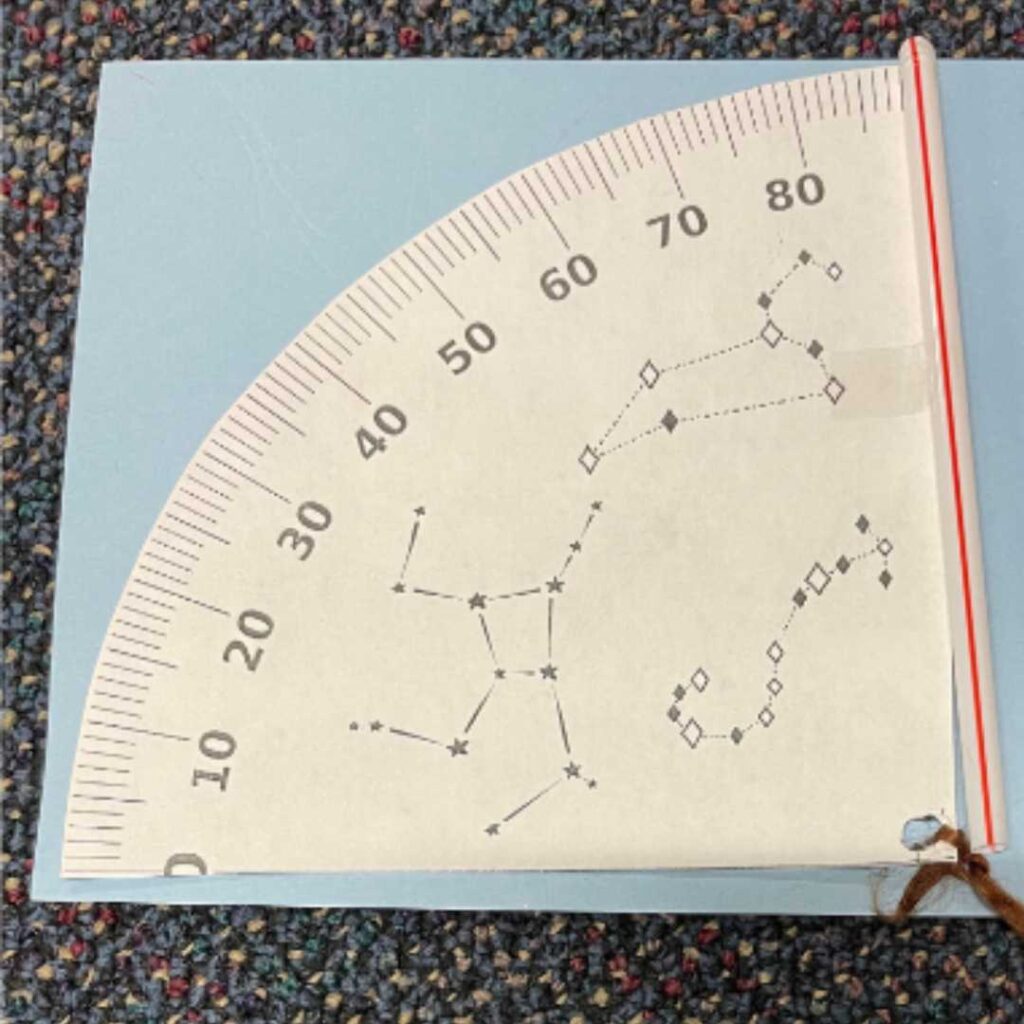
- Paper astrolabe template. You can purchase one that I created HERE or create one by drawing a large circle and cutting it up in fourths. Then you will have to add the measurements using a protractor.
- String or thin ribbon
- Paper Clip
- Crayons
- Scissors
- Glue
- Straw (the bigger the better)
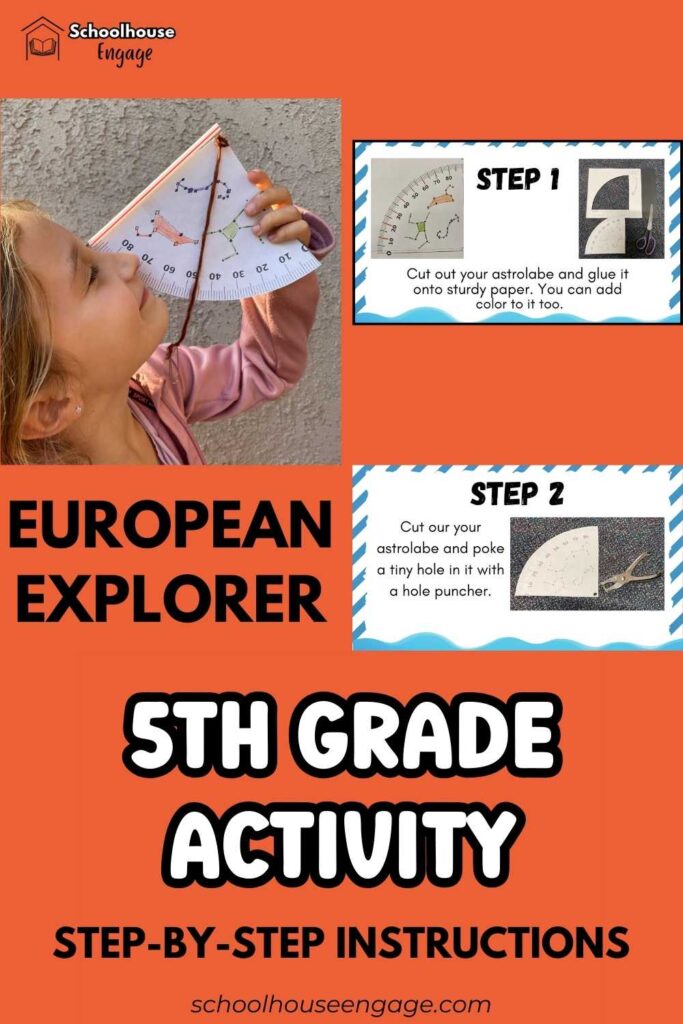
Step-by-Step Instructions for Making a Paper Astrolabe
Begin this astrolabe elementary lesson by first showing your students a real picture of an astrolabe and teaching them how they were used. PBS has a great video.
- If you are making an astrolabe from scratch, have your students mark the degrees from 0 to 90.
- Allow your students to color their astrolabes. You know how much students love to customize their crafts.
- Paste the astrolabe on construction or card stock paper so that it isn’t flimsy
- Cut out your astrolabe and hole punch it.
- Attach a straw to the edge
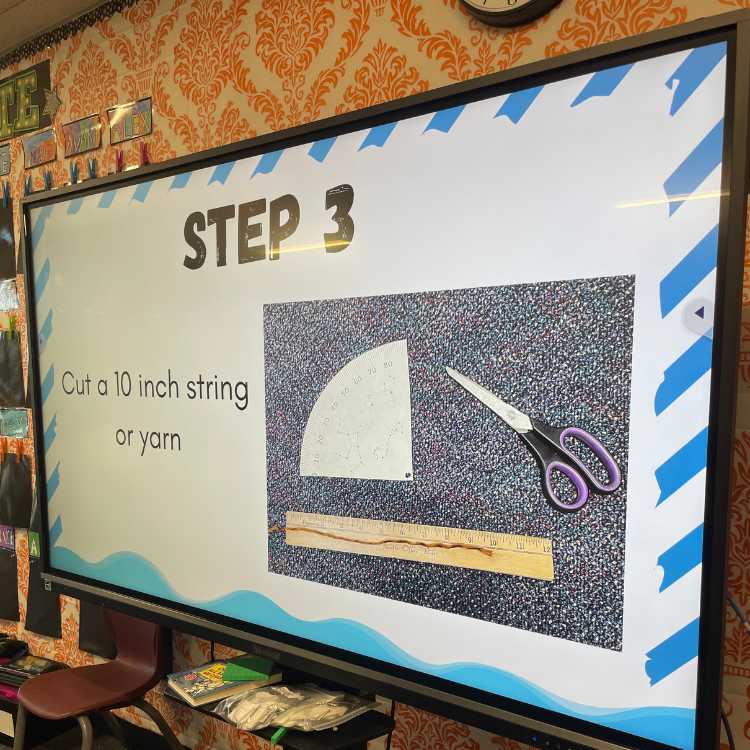
- Attach a string to the hole that is about 10 inches long and tie a paper clip at the end.
Classroom Tips for Making the Astrolabe Craft
Make sure your students are precise in punching their holes. If it is too far down in the corner, the string will rip the paper.
ALWAYS make a few extra copies of a craft or art project because there will always be a student who makes a mistake and needs to redo the craft.
When you pass out the string to your groups, just give students ONE very long piece that they can cut up on their own. This will save you time!
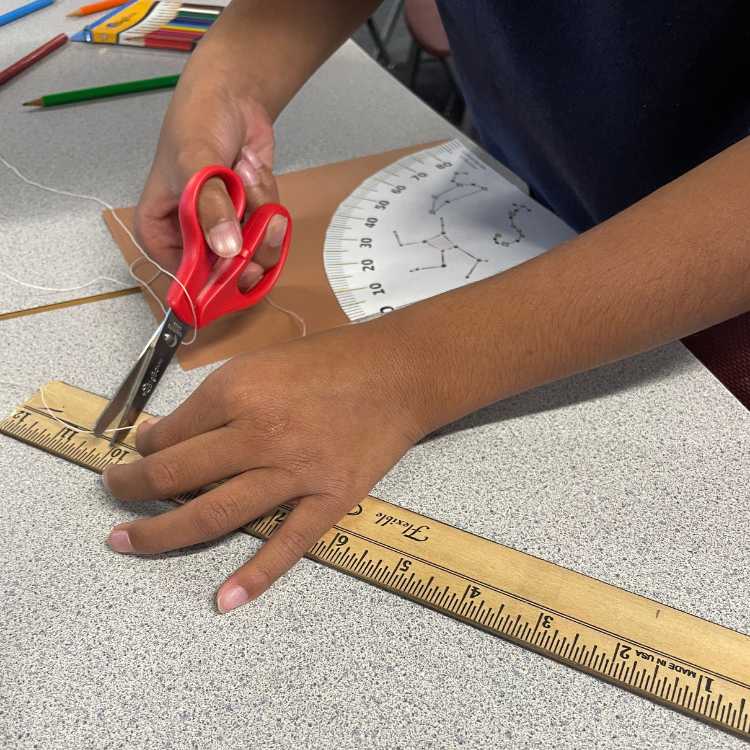
My students use their measuring rulers to measure 10 inches of string. PLEASE save yourself time and have your students do this step. It’s good measuring practice anyway!
Ask your students to help each other. I will still have students who come up to me asking how to tie a knot! Enlist your other students to help you out with students who may not know what to do.
I only have one hole puncher, so I put it at our reading table and just had students come up and use it, one by one, when they were ready. I like doing this as opposed to passing it around because
A: Some students may not be ready to start using it.
B: It sometimes gets lost.
How to Use the Paper Astrolabe at Home
Since students can’t gaze at the sun so ask them to take their astrolabes home and as a homework assignment, they need to gaze at a bright star with it. They record the angle of the brightest star, and then go back outside an hour later and stand in the same spot, and record it again.
They need to ask the question: was the star in the same place? This is a simplified, kid-friendly version of using the astrolabe.
Show Students a Real Astrolabe Example
Astrolabes are complicated, mathematical devices. Your students don’t necessarily need to know about the intricacies; they just need to know that it was important for explorers to have them.
It is fun for students to see a real one printed out so they can observe all the different lines and degrees on it. If you are interested in learning how to assemble a real one and use it, the European Southern Observatory has one you can print out.
Explore More Activities for Teaching European Exploration
If you have English Learner students, be sure to read my blog post, The Best Way to Teach English Learners about European Explorers.
And if you need more European Exploration lesson ideas, be sure to read 8 Fun Activities to Teach European Exploration.
Also, be sure to download my free worksheets about the motives of European Exploration to get your unit started.
Final Thoughts
Making an astrolabe is such a great way to help your students understand how important navigation tools were during the Age of Exploration. When kids build something like this, they will actually remember why explorers needed tools like the astrolabe in the first place.
It’s a simple project, but I promise your kiddos will enjoy it, and it’s something you’ll use year after year. If you need more ideas on how to teach European Explorers, watch the video below.
If you’re looking for more hands-on ways to teach European Exploration, check out my other activities and lessons that make this unit more meaningful (and fun!) for your students.
You got this! Giselle