Are you ready to start teaching your 5th-grade students the real meaning of decimals and fractions, but struggling to know how to start?
You know you want to start with the basics of getting them to understand what tenths, hundredths, and thousandths are in the form of decimals and fractions, BUT you aren’t sure how to teach it in a fun, hands-on way.
You want something that will hook them in, but have no idea what to do!
I’ve found that the best way for 5th-grade students to learn the concept of fraction and decimal equivalency is with the metric system. Why? Because the metric system is based on decimals!

Understanding Decimals and the Metric System
Understanding decimals and the metric system is crucial because it helps students develop a strong foundation in place value, measurement, and real-world applications of math.
Decimals represent fractions and mixed numbers with denominators that are powers of 10, like 10, 100, and 1,000. The word “decimal” comes from the Latin root decem, which means “ten.”
A Simple Hands-On Activity: Using a Meter Tape
The best way to introduce decimals to students and vice versa is to start with something concrete that they can touch and manipulate.
Your students can use a store-bought meter tapeto understand decimals and fraction equivalency. Make sure you explicitly teach your students that some measuring tapes have different units of measurement- inches or centimeters.

I prefer having my students create their own meter measuring tape out of regular 8.5 x 11 paper. It allows them to divide the tape into tenths, hundredths, and thousandths.
This activity provides students with hands-on experience to understand place value and the relationship between fractions and decimals. They also put their meter measuring tapes to use by doing actual measuring.
The Challenge of Creating Meter Tapes Out of Blank Paper
Cutting long pieces of butcher paper into strips for each student that measure exactly a meter was a pain. It took so long to do this!
Then my students started drawing their decimeter and centimeter lines unevenly, despite my guidance in using a ruler. Below you will see how one student did their meter tape with extra space at the end.
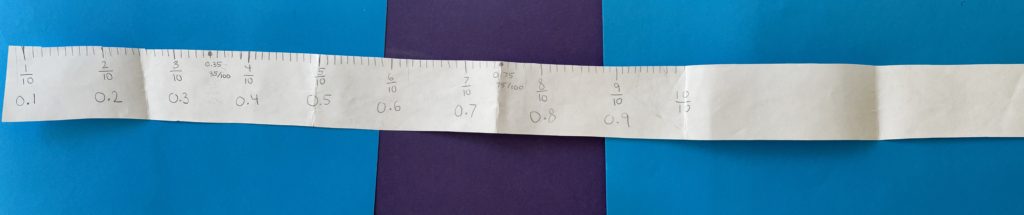
The picture below shows how my student left too much space at the beginning of their meter tape. I knew there had to be a better way to help my students create their own measuring tape to teach fraction and decimal equivalency.

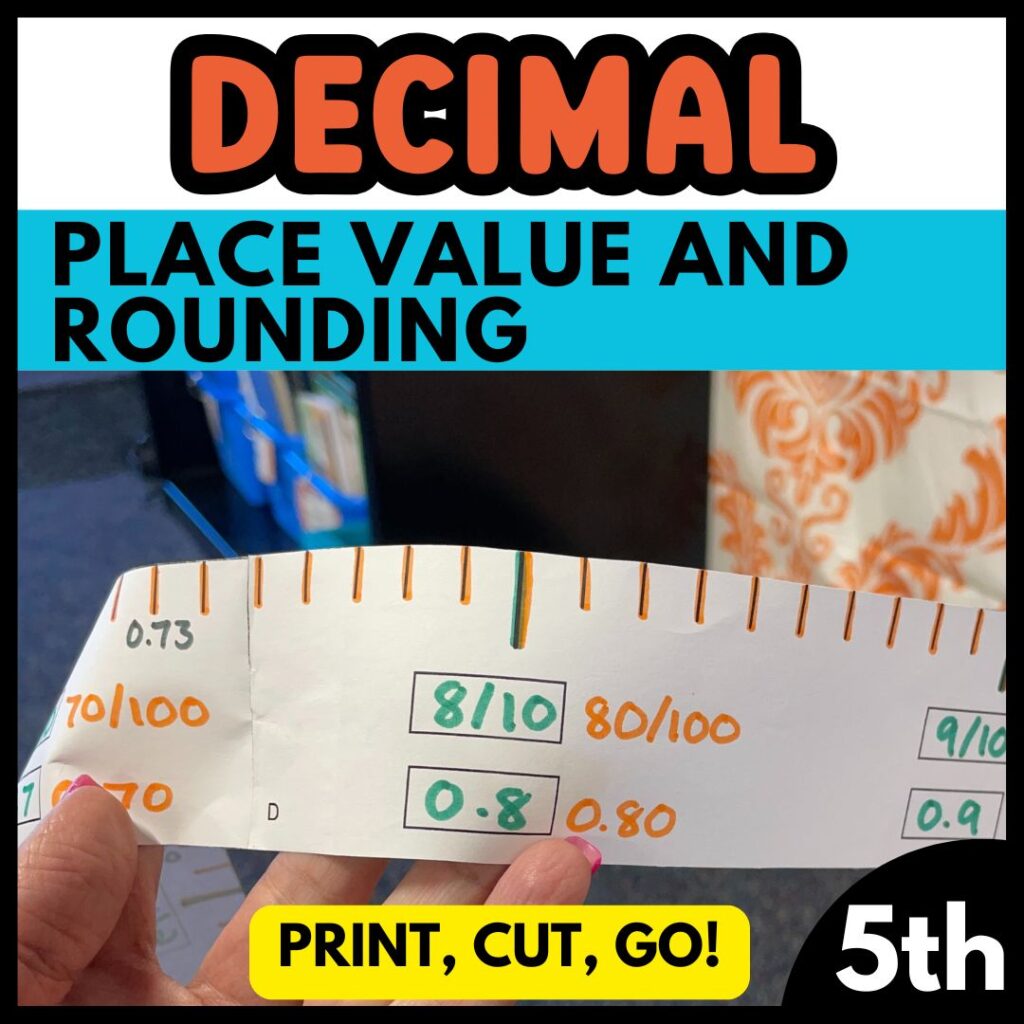
A Better Way: Pre-Made Printable Meter Tape
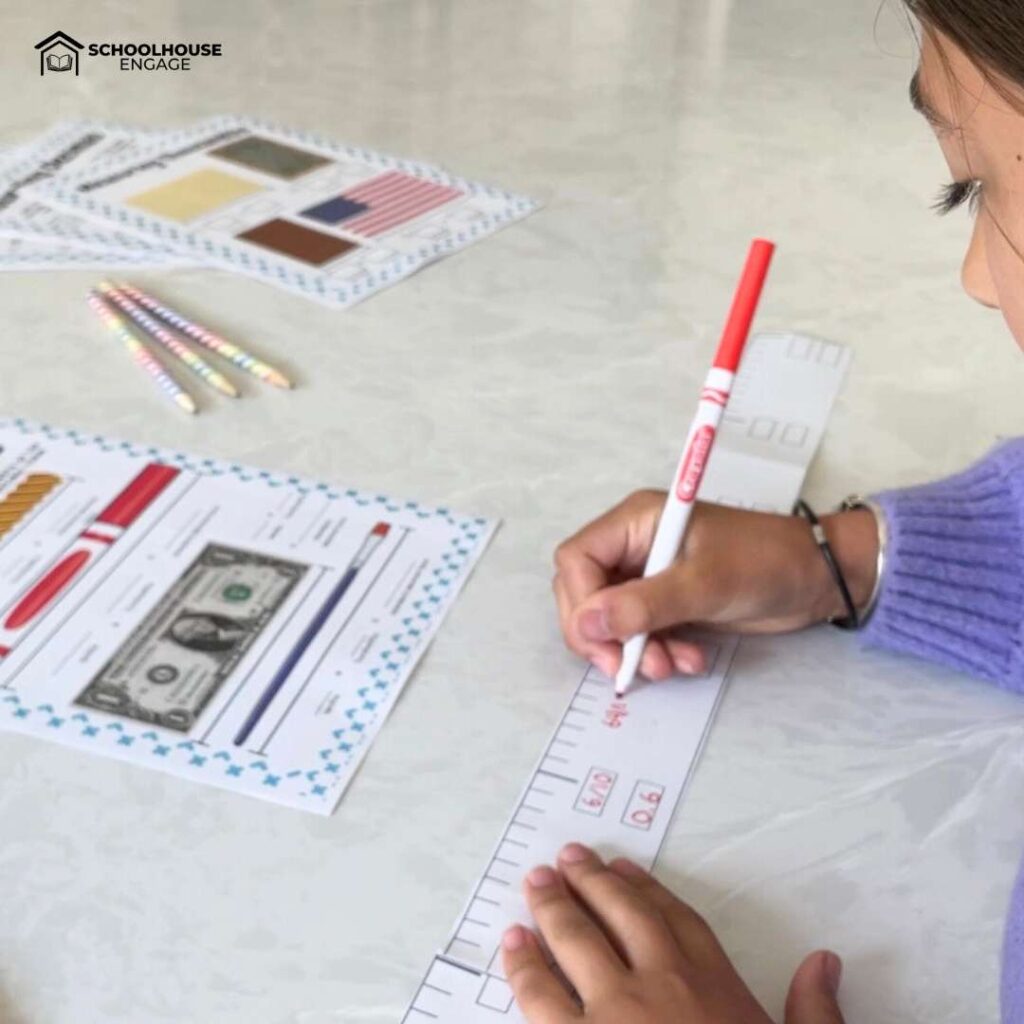
After I saw many of my students struggle to make their own measuring tape, I decided to create a meter tape as a PDF that I could print and hand out to students. I also created a video to show them how to cut and glue their meter tape together step by step. This made my life so much easier!
Then, I created slides to guide them in labeling their meter tape.
Why? Well, as a teacher or parent, you know that kids struggle to follow step-by-step directions. The slides show them how to color-code and label the meter tape into decimeters and centimeters.
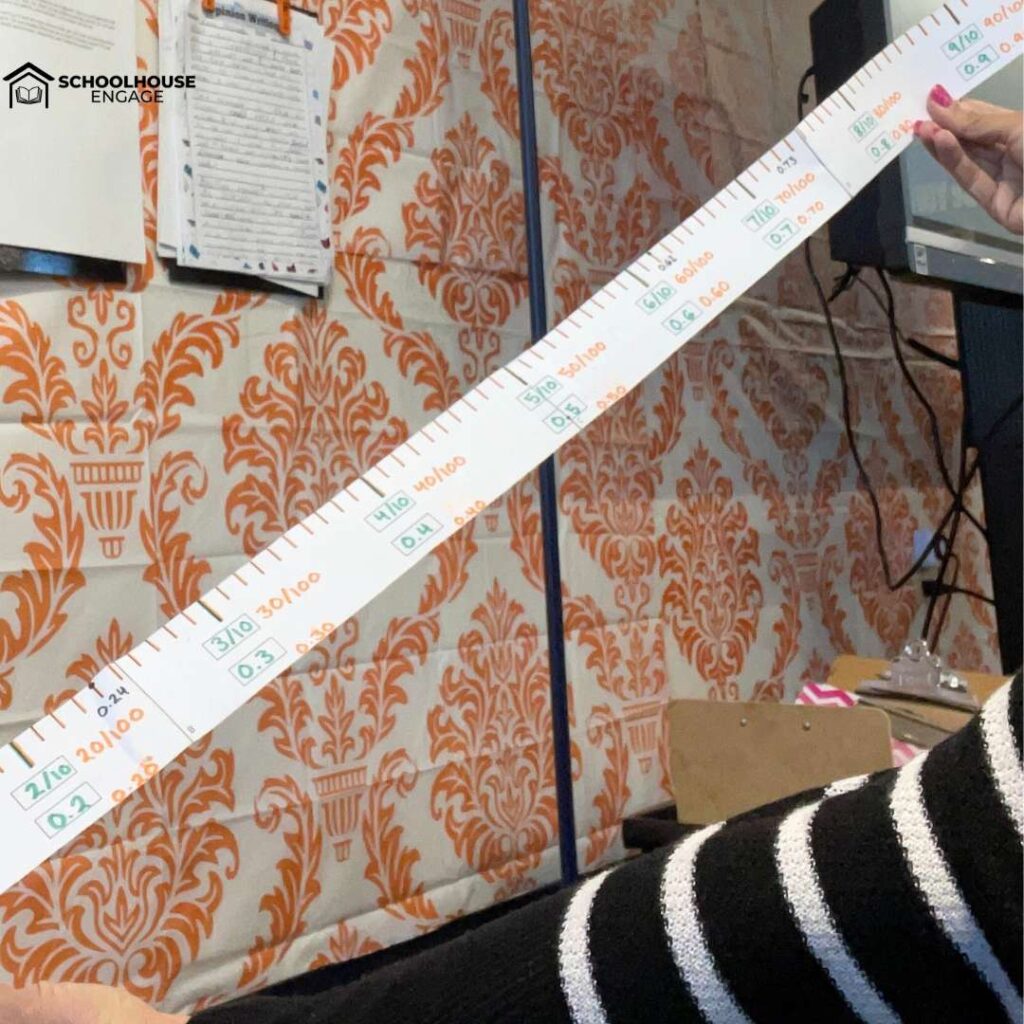
Teaching Decimal Place Value Using the Metric System
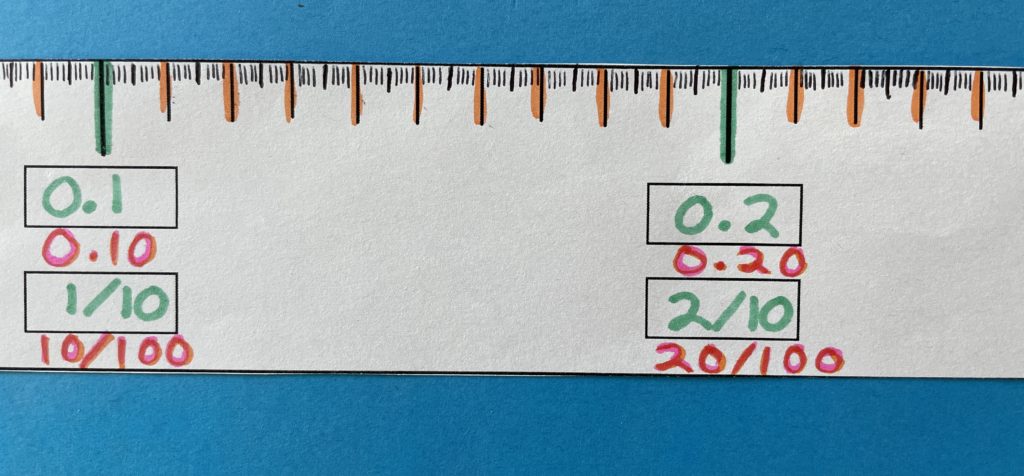
Once we labeled our meter tape, my students were ready to learn how to read and write decimals. We call decimeters tenths because we divided the meter tape into 10 parts, and we call centimeters hundredths because we divided the meter tape into 100 parts.
Relating Decimals to Fractions
Teach students explicitly how decimals are read as fractions. For example:
- 0.3 is equal to 3/10 “three tenths”
- 0.45 is equal to 45/100 “forty-five hundredths”
This is something that is going to take a while for students to learn, especially with your EL students. If they need more practice, make sure to read my blog post “Quick & Easy Fraction Review: A 5-Minute Alternative to Worksheets“.
Practicing Measuring Using Decimals
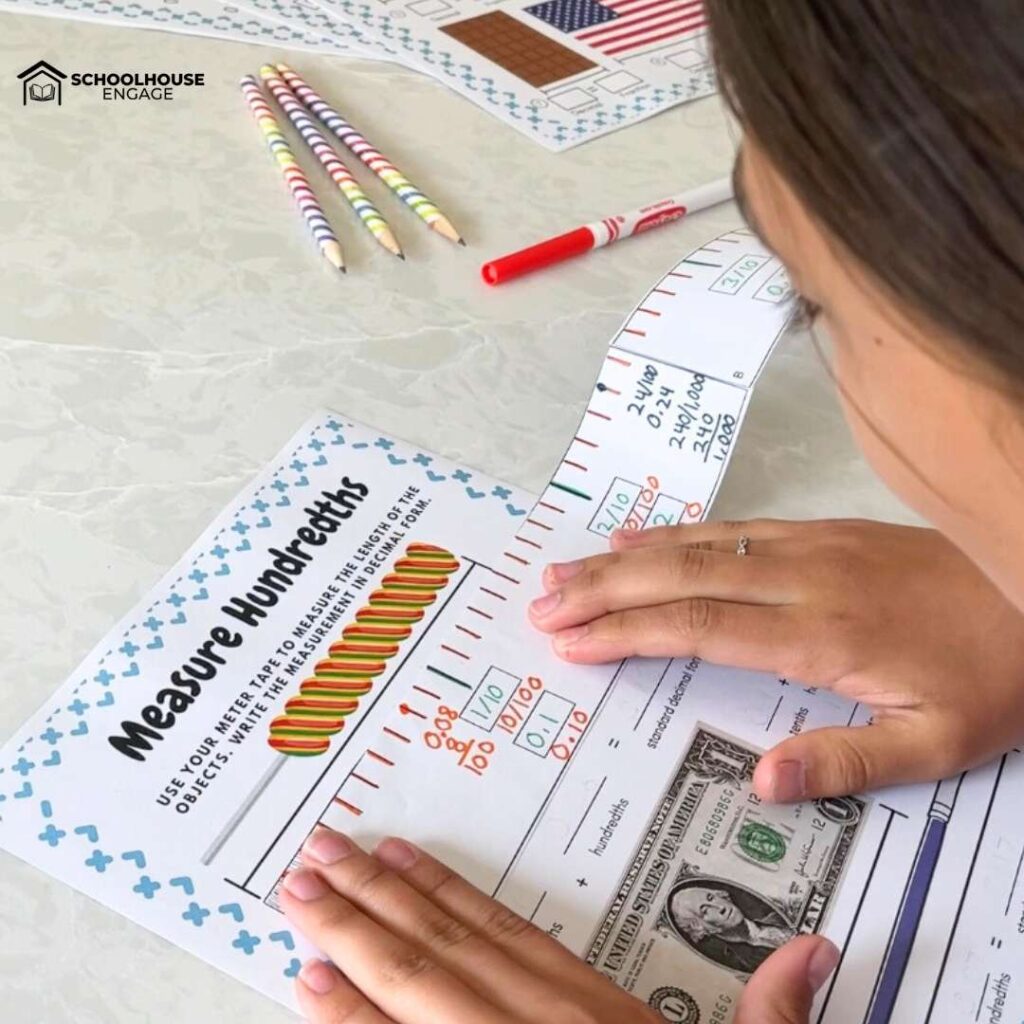
After we practiced how to read and write decimals in word form and fraction form, students were ready to practice measuring items. I created worksheets so they could put their meter tape to use.
They measured different objects using these worksheets and expanded the decimal to see the place value of each number. For example, if a lollipop measured 0.15 meters, its expanded form is 0.1 + 0.05.

Rounding Decimals to the Nearest Tenths
Now that students had practiced measuring using decimals, they were ready to start rounding. Using the meter tape they created was the perfect way for them to understand rounding because they could see the decimals on a number line.
Understanding the Concept of Rounding
The worksheets I created allowed students to label their number line. Some needed their meter tapes as a tool to help them label and round decimals. I explained:
- If the decimal is above the halfway point, they round up.
- If it’s below the halfway midpoint, they round down.
When to Teach the Rounding Rule
Should you teach the rule that if the number next to the digit you are rounding is 5 or more, you round up, and less than 5, you round down? Not yet.
You want your students to understand the concept of rounding first. That rule should be taught later for students who have a hard time visualizing the number line. Once you teach that rule, tell your students:
“5 or more, raise the score; 4 or less, let it rest.”
Teaching Decimal Place Value Up to Thousandths
Learning the names of the digits and understanding their meaning is something new for your students. Therefore, I recommend teaching thousandths the next day.
After students have a solid understanding of tenths and hundredths, move on to teach thousandths.
Instead of just telling your students about the thousandths, ask them to measure something that is not exactly a centimeter. For example, if a pencil is not exactly 11 cm, how can we measure it more precisely?
Students can create 10 super-thin lines between hundredths using a sharp pencil. These tiny lines represent thousandths.
Hands-On Thousandths Activity
Have your students label their meter tape by giving them decimals in the thousandths to plot. For example, ask them to plot 0.187 and remind them that it will be between 0.1 and 0.2 on their meter tape.
Then, let them practice measuring the length and width of objects of their choice. This makes learning decimals fun because students move around the classroom, applying what they’ve learned.
After writing their measurement, they must also decompose the decimal.

Rounding Decimals to the Nearest Hundredths
Now that students have learned how to measure up to the thousandths, I suggest teaching how to round to the nearest hundredths. This can be challenging, but with their meter tape as a reference, they will have a concrete understanding of how to do it.
Helping Visual Learners
Using number lines allows students to identify where a decimal is. Students can determine the middle values of two decimals by:
- Writing the first decimal on the farthest left.
- Writing a 5 right after.
For example, in the worksheet below, 0.28 is the first number that should be written on the left of the number line. The middle number is the same, but with a 5 right after: 0.285. Using number lines helps students recognize a pattern, which is a key part of mathematical thinking.

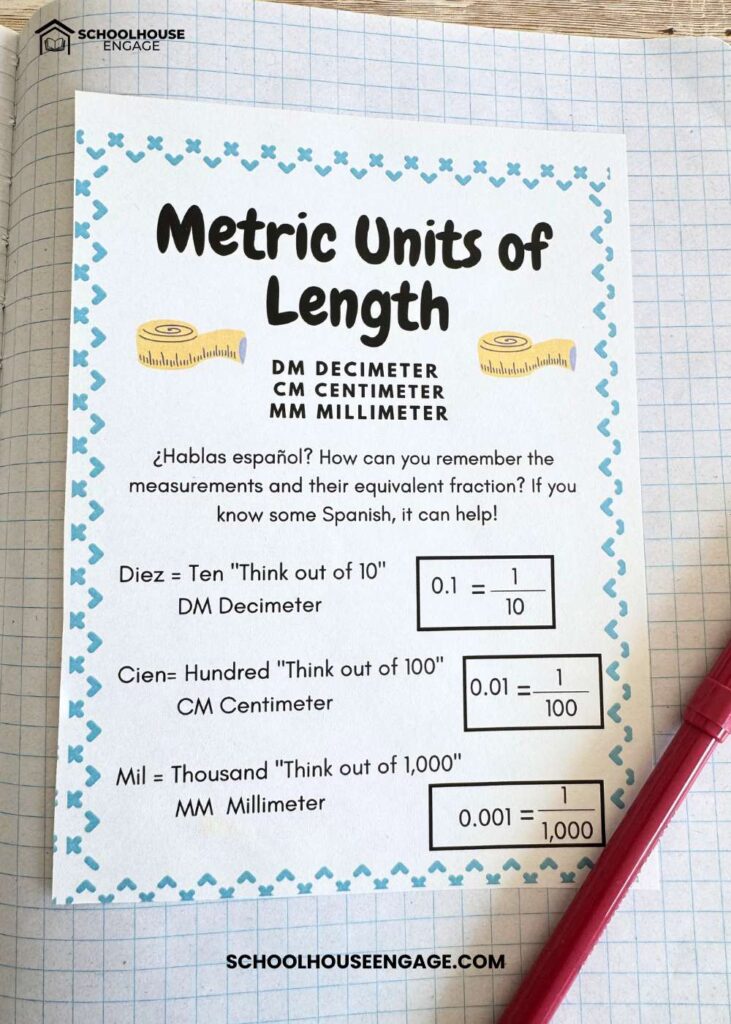
Decimal Mini Anchor Chart for Student Reference
You teach an amazing lesson and think, “My students totally understand this!” But let’s be real—students forget concepts.
That’s why I created reference sheets to go along with the lesson. These sheets can be:
- Glued into a notebook for students to refer to throughout the year.
- Enlarged and posted in the classroom.
The reference sheets include:
- Definitions for DM, CM, and MM with their decimal and fraction equivalencies.
- How to round using place value.
- How to read and write decimals.
Keep Meter Tapes Handy Year-Round
Creating and labeling a meter tape to understand tenths, hundredths, and thousandths has been a game-changer for me. Make sure your students keep their meter tape handy, especially when reviewing for state testing.
You can grab this resource HERE.
I hope your students enjoy creating their meter tapes as much as mine did! You got this!
– Giselle