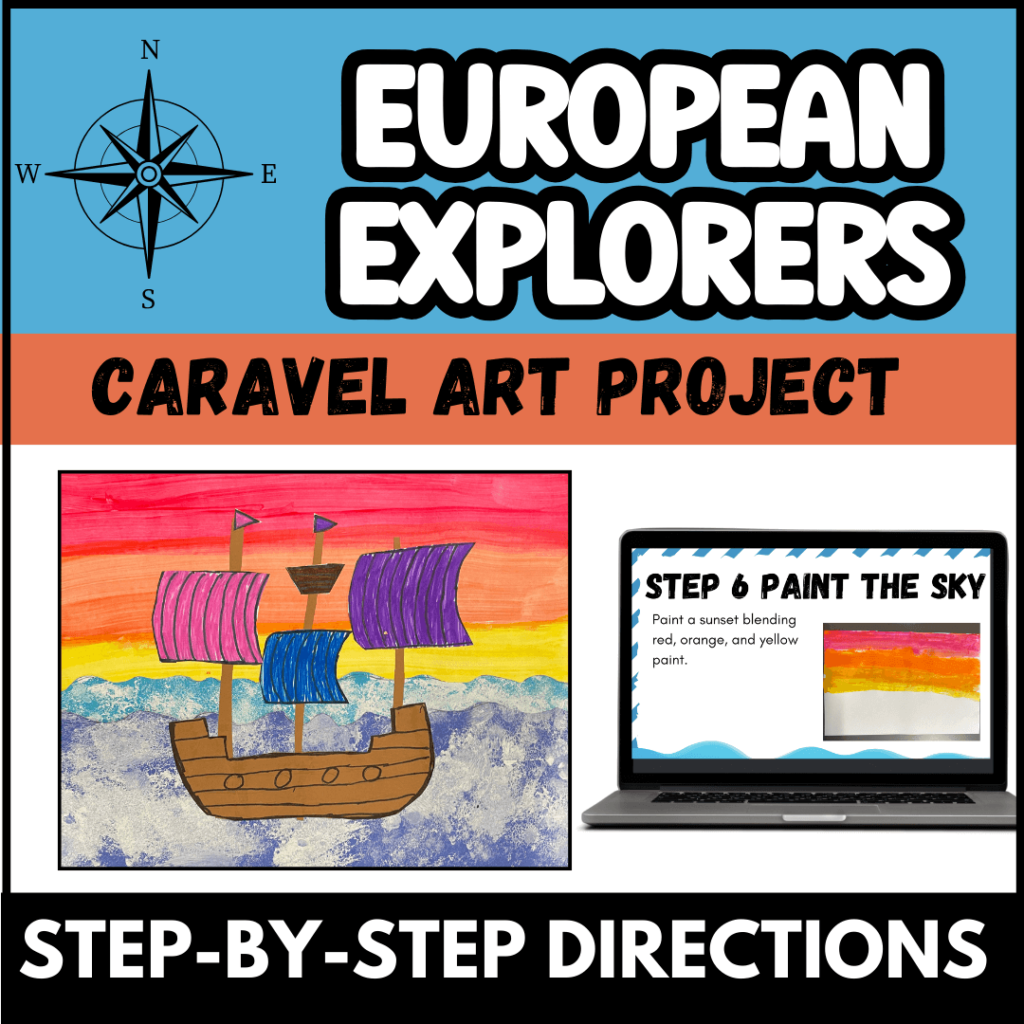
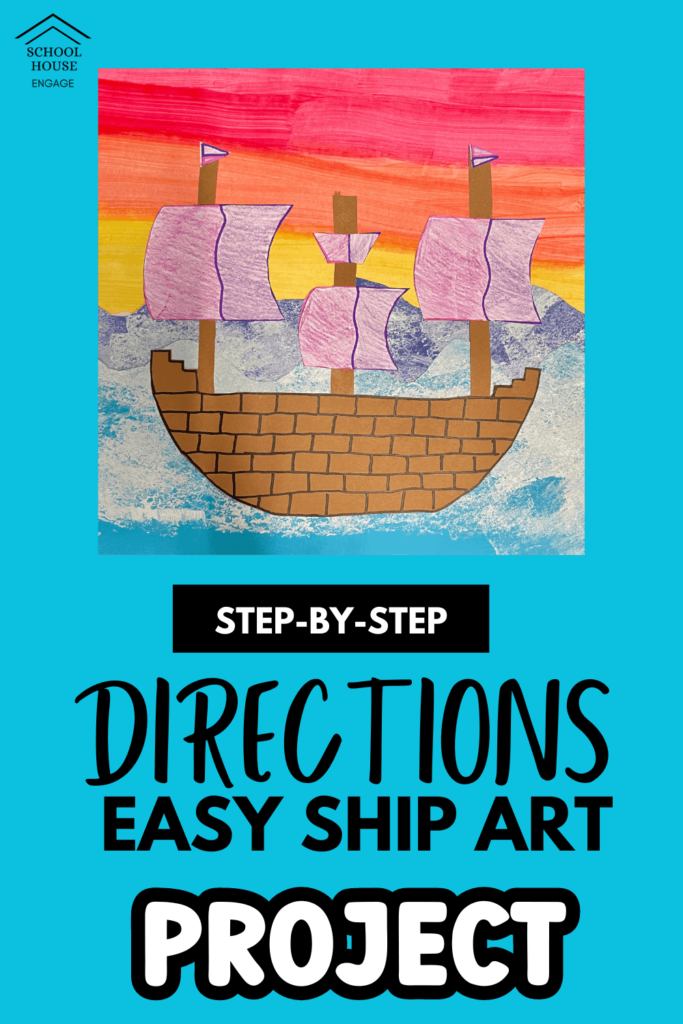
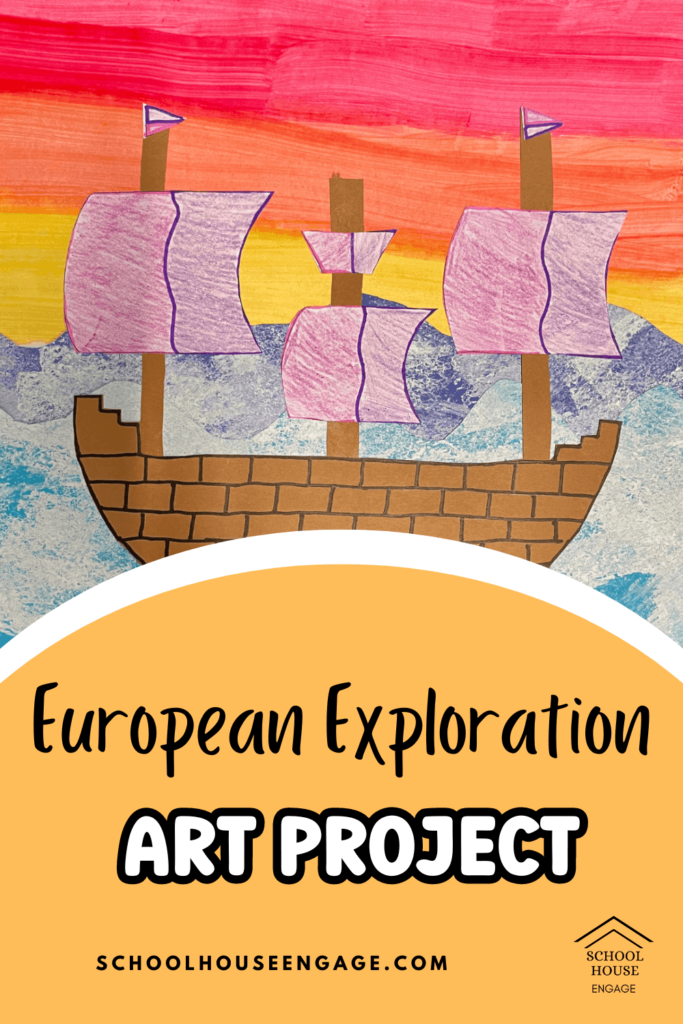
Teaching European Exploration? This hands-on art project will engage your students and it allows you to integrate art into your social studies unit. This European Exploration art project makes a beautiful classroom display.
Why Teach About Caravel Ships During European Exploration?
Caravel ships were highly maneuverable and fast. They were invented by the Portuguese and spearheaded exploration.
This art project looks so good on the wall and will really brighten up your classroom. Don’t forget to save them for Open House Curriculum night.
There is no rule that says you have to display projects or student samples that are recent. You will want to show off this art project for sure!
Preparing for the Art Project
First, you need to prepare a few things.
Materials:
- Construction paper
- Scissors
- Glue
- Sponge- you can purchase at a craft store or cut up a dish sponge in half
- Black marker or Sharpie
- Tempera paint (acrylic works too) Brown, White, Blue, Aqua, Red, Orange, and Yellow
There is minimal prep since all you need to do is cut the construction paper in advance. Here’s how:
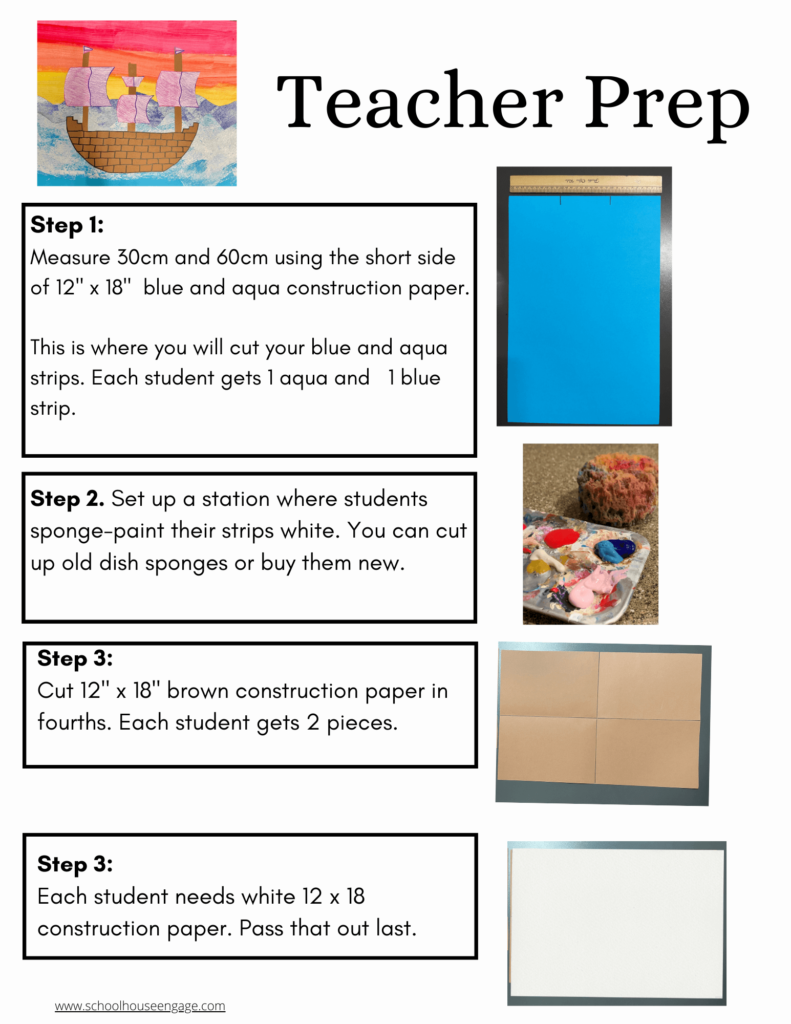
- Measure 30 cm and 60cm using the short side of a 12” x 18” blue and aqua construction paper. This is where you will cut your blue and aqua strips. Each student gets 1 aqua and 1 blue stip.
- Set up a station where students sponge-paint their strips white. You can cut up old dish sponges or buy them new.
- Set up a station where students sponge-paint their strips white. You can cut up old dish sponges or buy them new.
- Cut 12 x 18 brown construction paper into fourths. Each student gets two pieces.
- Each student needs white 12 x 18 construction paper. Pass that out last.
Step-by-Step Directions for Caravel Ship Art (Day 1)
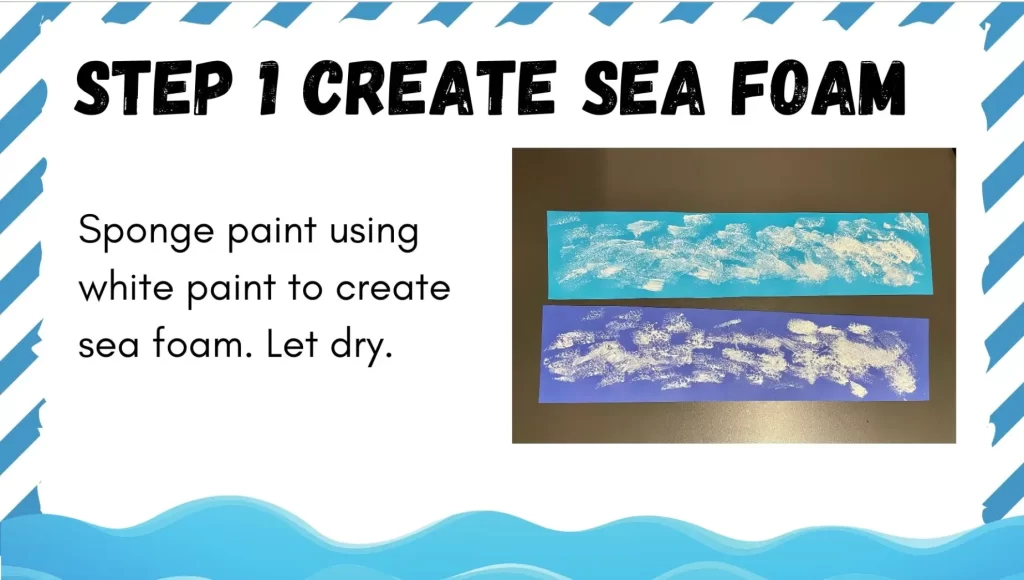
Step 1: Sponge paint your blue and aqua strips to create the seafoam
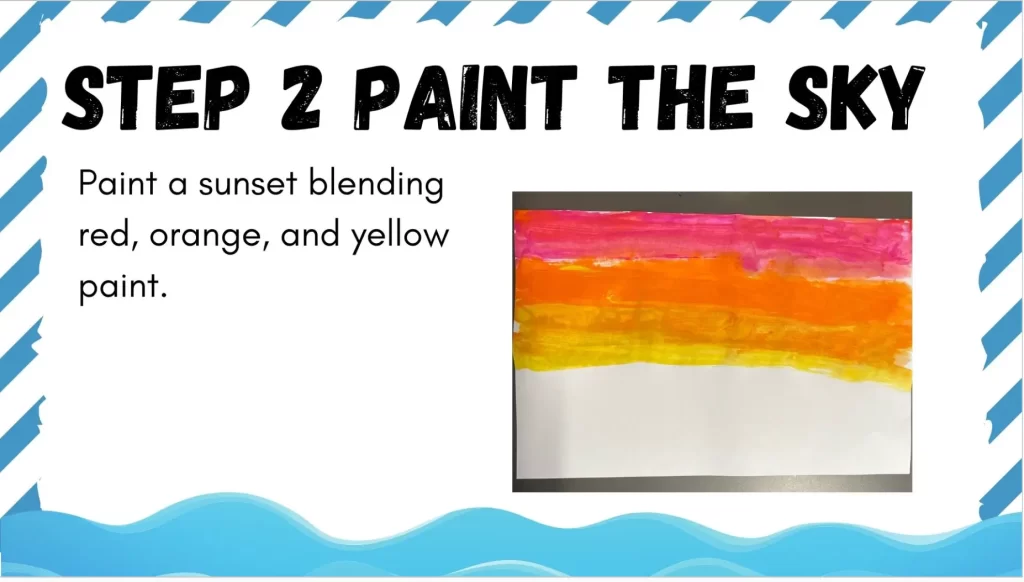
Step 2: Paint the sky, blending red, orange, and yellow.
Step 3: Cut the top of the blue and aqua strips. These will be your waves.
Finishing Your Caravel Ship Art (Day 2)
Step 4: Create your mast poles out of brown construction paper.
Step 5: Draw your ship and decorate it. My students will add the lines of the wooden planks and create holes for the cannons.
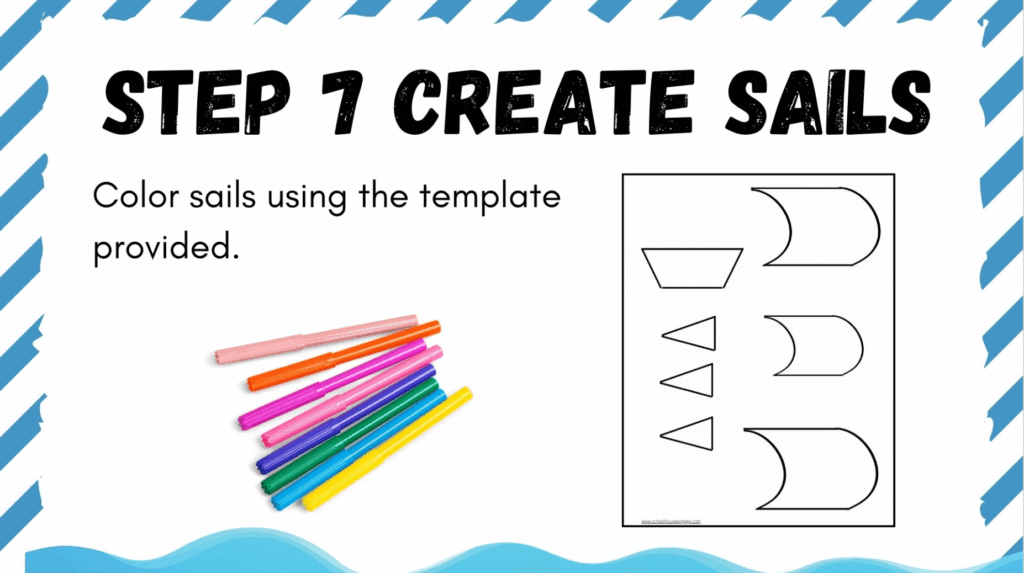
Step 6: Create the sails using white paper and decorate them.
This is where your students can get creative. I give them the liberty to draw whatever they want. Somehow, many European Explorer ships suddenly get transformed into pirate ships. What can I say? They are kids!
Step 7: Glue everything together.
You can get these direction slides here.
Once we are done, it’s time to do a gallery walk so students can see each other’s projects.
Why Caravel Ships Were Important in the Age of Exploration
Caravel ships were a total game-changer during the Age of Exploration. They were fast, lightweight, and easy to steer, which made them perfect for long ocean voyages.
The Portuguese designed them to explore uncharted waters, and pretty soon, explorers were sailing farther than ever before.
These ships had both triangular and square sails, so they could move even when the wind wasn’t cooperating. When I teach this to my students, I explain that without the invention of the caravel, many of the famous voyages we learn about in history class might not have even happened!
Make This Project to Your Classroom
This art project is my go-to lesson that I repeat year after year, and it makes learning about European Exploration more fun.
If you want to read more about how I use visuals and background knowledge to teach students about European Exploration, you can read more about it in a blog post I wrote HERE.
If you want to make your life easier by having a template and step-by-step Google Slides directions for your students, check out my lesson HERE. You got this! Giselle